PortaSwitch can be partitioned in multiple virtual environments. Each virtual environment will have its own PortaSIP cluster with a single entry point (the virtual IP address) running on the existing set of servers.
To configure a PortaSIP cluster on the existing server, you first need to associate the additional IP addresses with the public network interface of the server (this process is called "IP aliasing"). Then you can create the cluster instances on said server, assign an individual IP address and associate the billing environment to each of them. It is recommended that on all servers within the set, you add the DispatchingNode instance (it is on standby) for redundancy and the ProcessingNode instance for load distribution.
To deploy a new PortaSIP cluster, complete the following steps:
- On the Servers page, select the server where you want to run the cluster DispatchingNode and ProcessingNode instances.
- Go to the server’s Network tab and add the appropriate IP address as an alias.

- Repeat step 2 to add the required number of IP addresses.
- Repeat steps 1–3 to add IP addresses to another server of your PortaSIP cluster.
- Clone the configuration.
- In the Configuration Tree panel, go to ClusterSuite > PortaSIPCluster > Create cluster and press the Create cluster button.
- In the Site name field select the site and in the Environment field, specify the billing environment where this instance will run. Then click Save.

- Specify the virtual IP address for this sip cluster in the vipaddr field of the DispatchingNode group.
- Specify the domain names for callback and voicemail services in the callback_domain and email_domain fields of the Media Server group. It is recommended that callback and email domain names resolve on the virtual IP address.
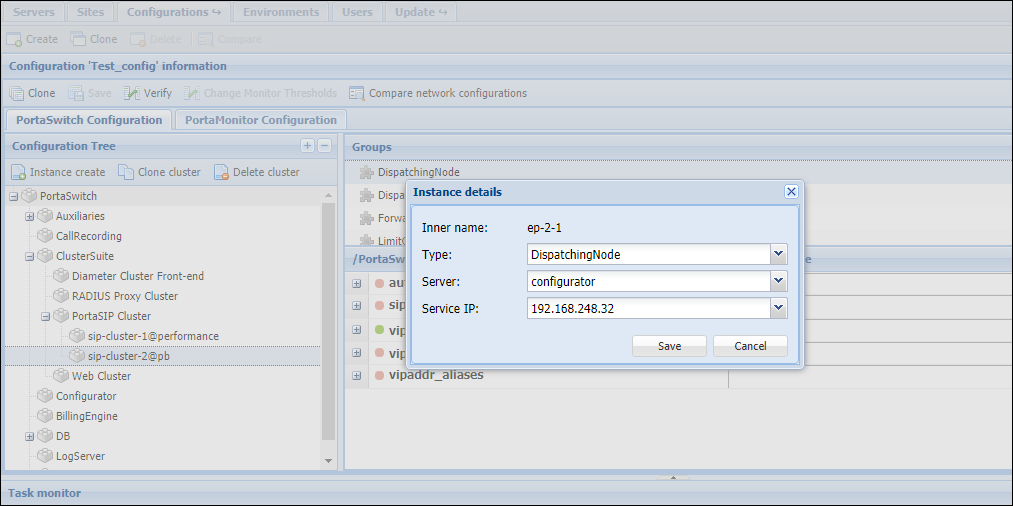
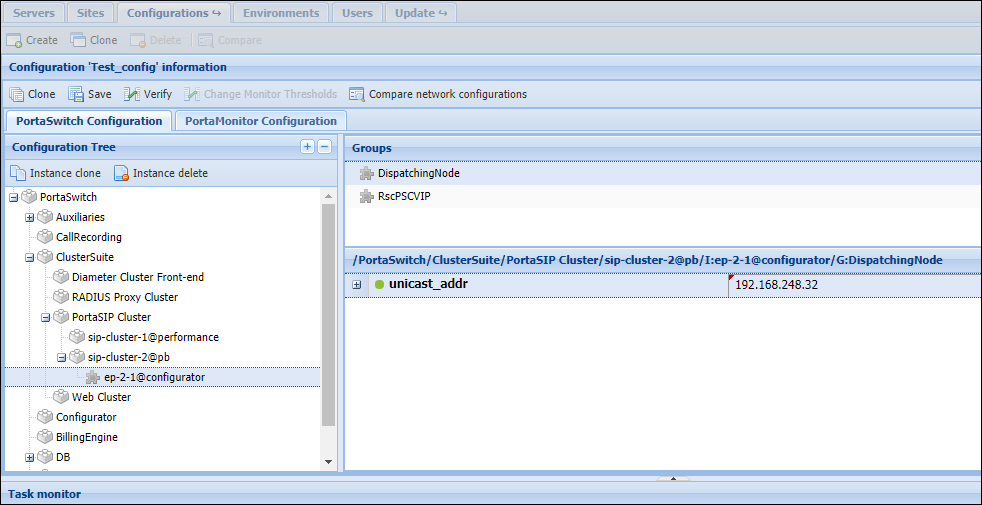
- Click the Instance create button to create a new dispatching node instance. In the Type field select DispatchingNode. Then, specify the billing environment where this instance will run and the newly
added IP address in the Instance details dialog window, then click Save.


- Create a processing node instance. Click the Instance create button. Select the ProcessingNode instance type, then select which server this instance will run on and its service IP. Click Save to save the instance.
- Repeat steps 6–11 to add DispatchingNode and ProcessingNode instances for another server within your PortaSIP cluster.
- After all these changes have been made, click Save and then Verify.

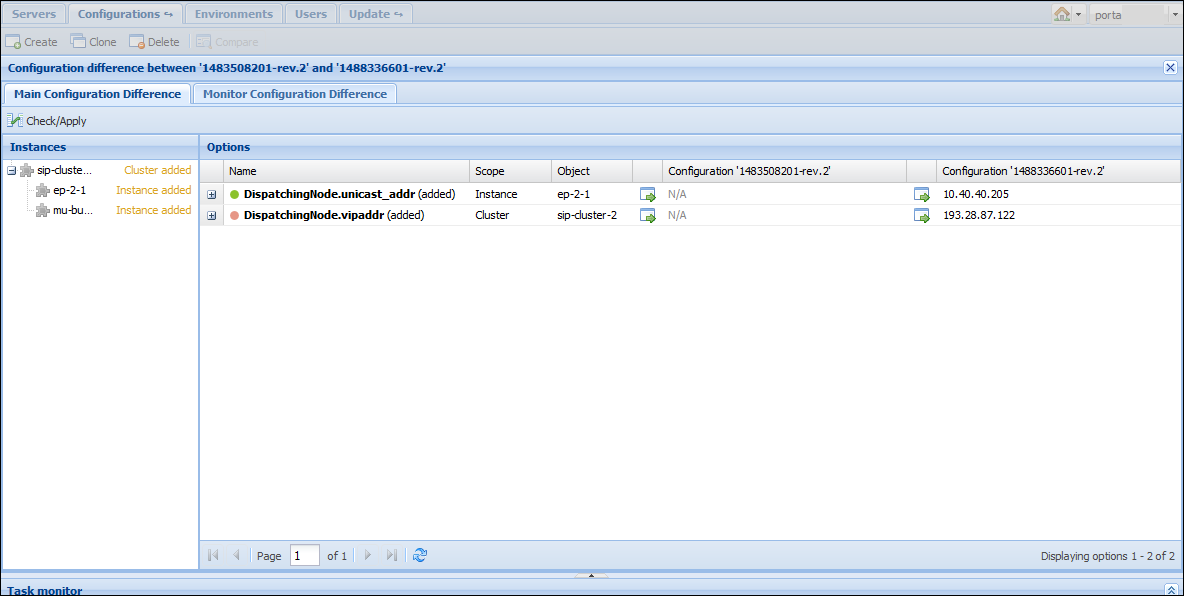
- Click
 Check/Apply to apply the configuration.
Create a new PortaSIP node via the PortaBilling admin interface.


