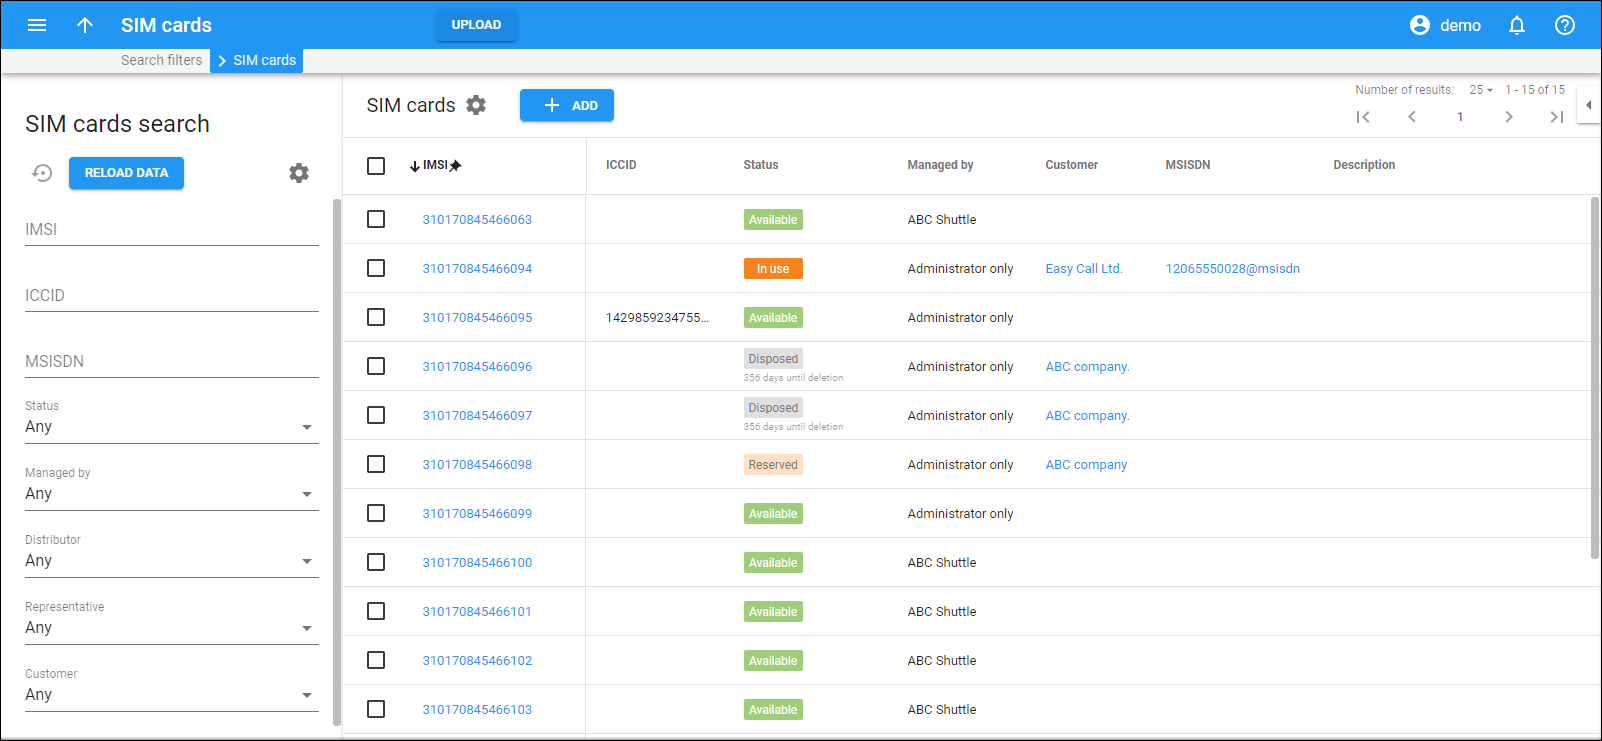
The SIM cards panel displays a list of SIM cards that matches your search query.
Each entry in the result list consists of:
- IMSI – the unique International Mobile Subscriber Identity of the SIM card.
- ICCID – the SIM card’s unique serial number which can be found on the back of the card.
- Managed by – this shows who can make changes to the given SIM card, whether it is an administrator or a particular reseller.
- MSISDN – the mobile number of a given SIM card. This is actually the account ID of the linked account. Thus, this field is full only when a SIM card is already assigned to a specific account.
- Description – short description of the card.
- Status – this shows the SIM card status:
- Available – the SIM card is not yet assigned to any account.
- In use – the SIM card is assigned to an account.
- Reserved – the SIM card is assigned to a customer, but it is not in use yet.
- Disposed – the SIM card is unassigned from the account and is no longer usable.
- Distributor – this shows the distributor the SIM card is assigned to.
- Representative – this shows the representative the SIM card is assigned to.
- Customer – this shows the customer the SIM card is assigned to.
Group operations
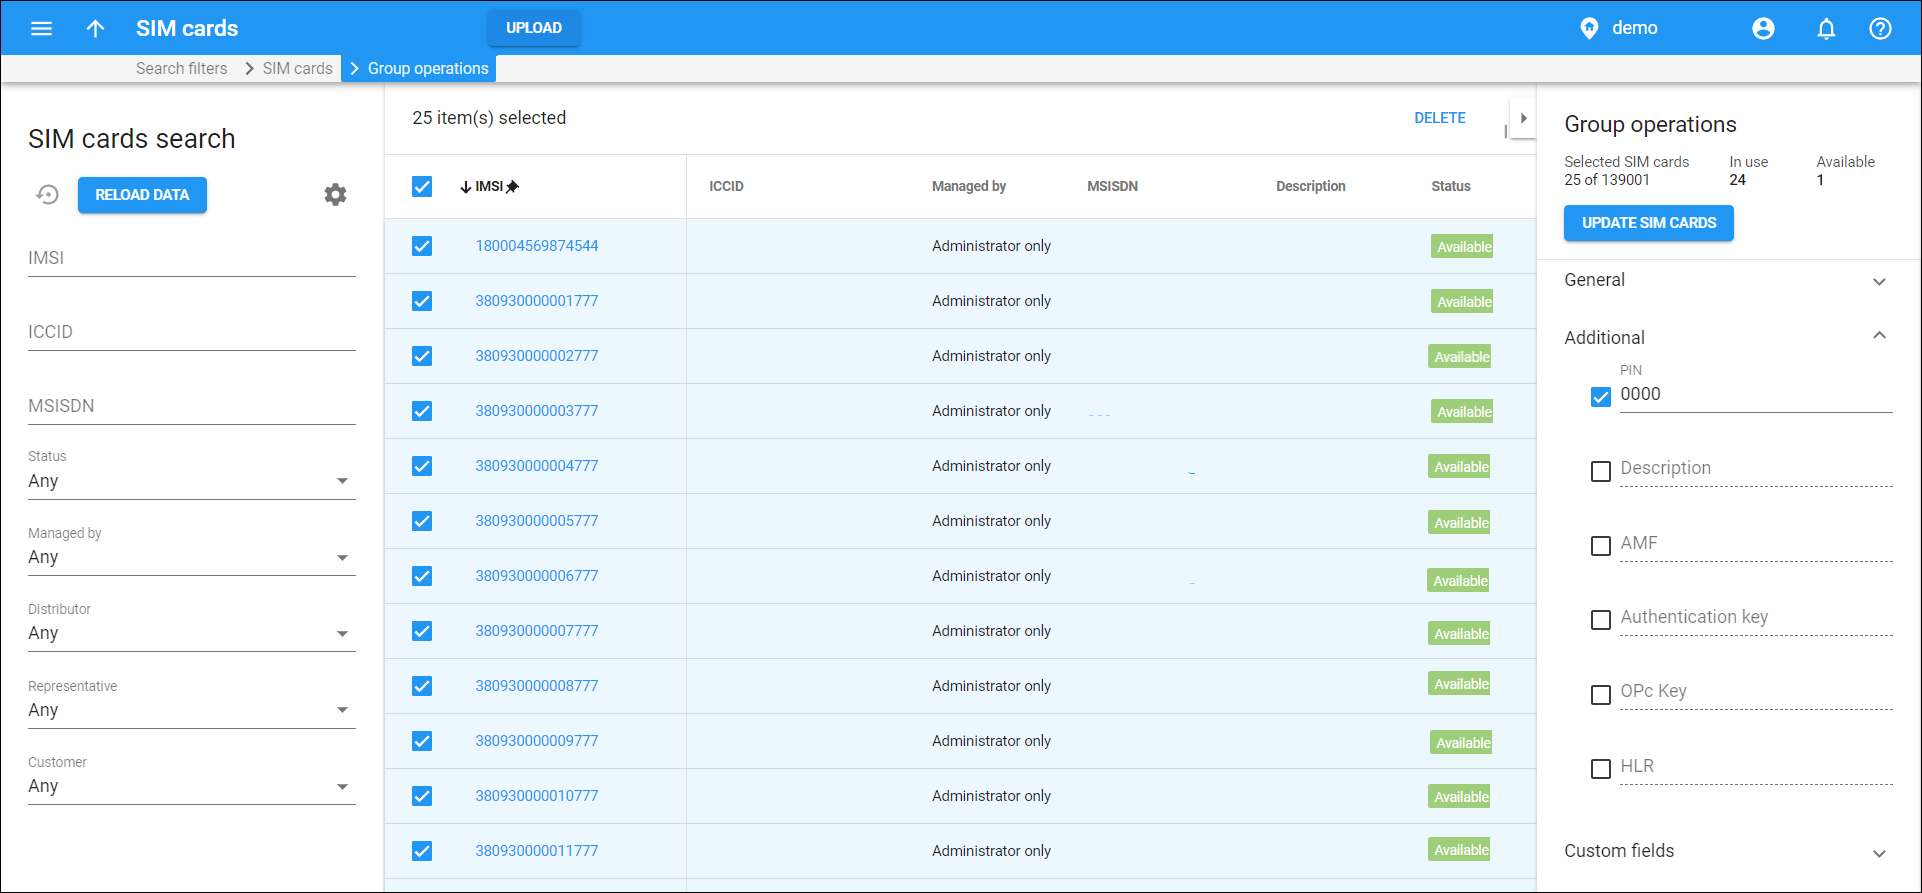
You can modify settings for multiple selected SIM cards at a time, for instance:
- Allocate SIM cards to sales partners, such as distributors and representatives, and customers.
- Update SIM card details, such as PIN code (for inactive cards) or custom information.
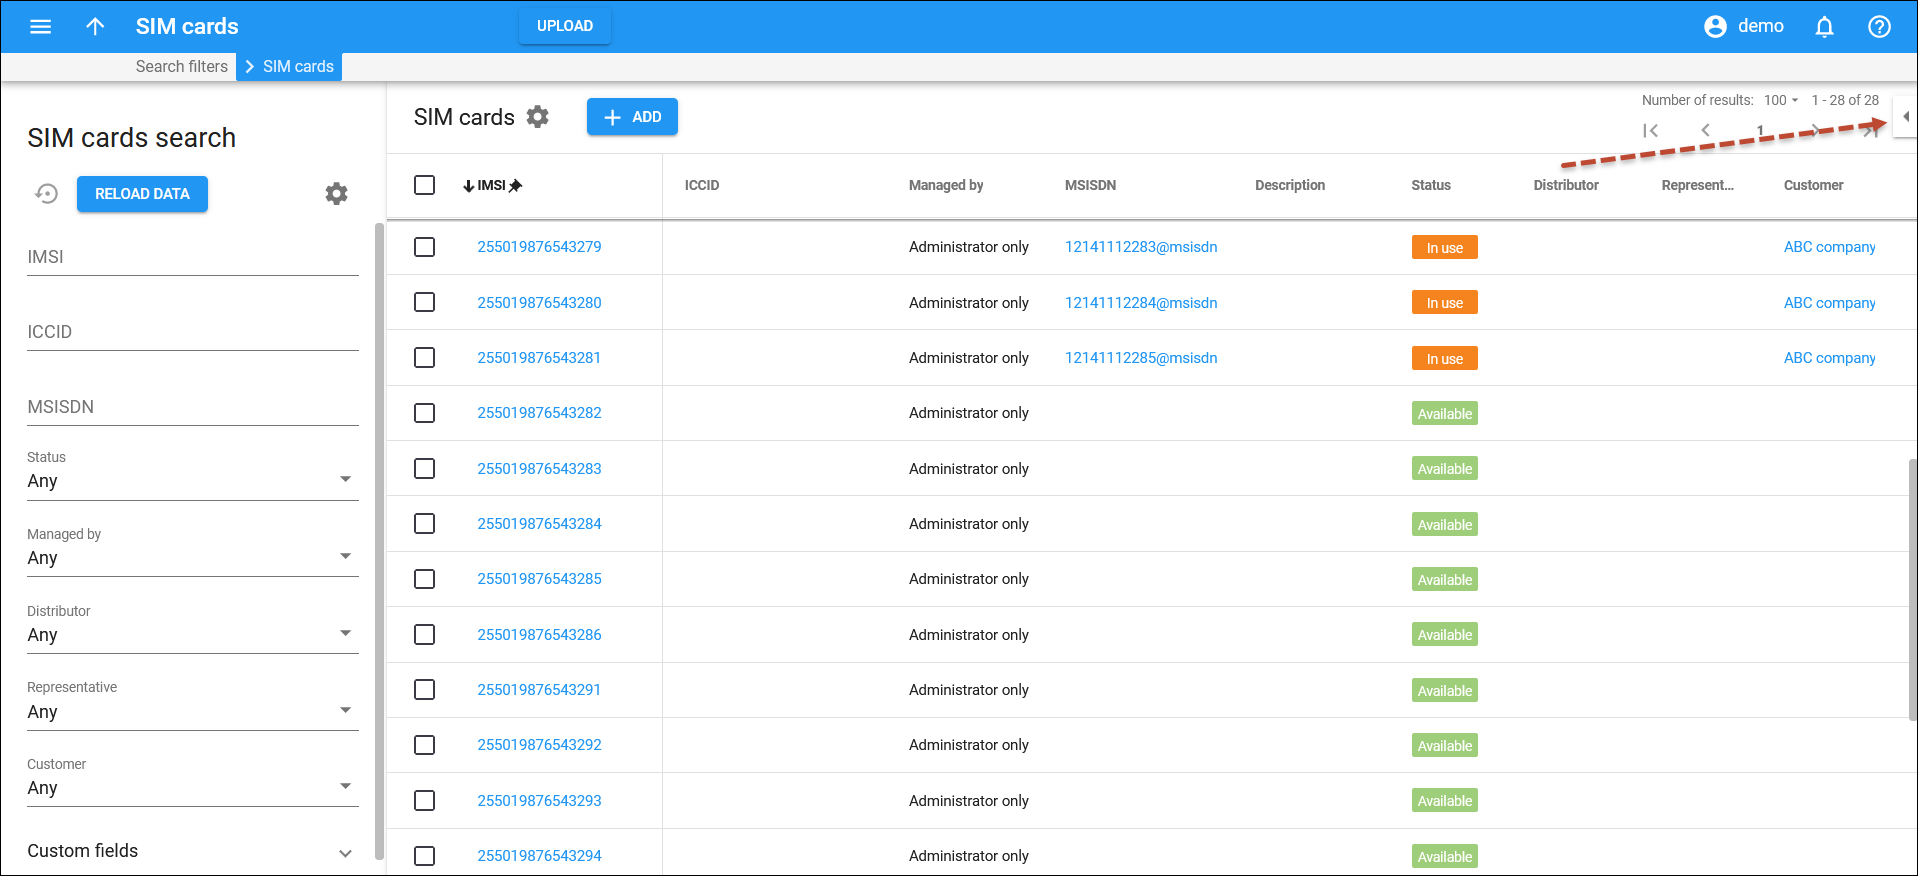
To open the Group operations panel, click the arrow in the top right corner of the page. The operations are available when at least one SIM card is selected.
To perform specific operations with the selected SIM cards, select the corresponding checkboxes on the Group operations panel. After making all the necessary changes, click Update SIM cards.
General
Here you can allocate SIM cards to a specific distributor, representative, or customer, and change the “Managed by” assignment.
Distributor
You can assign the selected SIM cards to a specific distributor or unassign them by selecting None in the dropdown list.
Representative
You can assign the selected SIM cards to a specific representative or unassign them by selecting None in the dropdown list.
Customer
Here you can assign the selected SIM cards to a specific customer or unassign them by selecting None in the dropdown list.
Additional
Here you can modify some additional information about selected SIM cards.
PIN
Specify PIN code for inactive SIM cards.
Description
Here you can add a description for SIM cards.
AMF
Here you can specify the authentication code to be added to the SIM authentication request.
Authentication key
Specify the authentication key value associated with this SIM card. This key will be used during card authentication on the mobile network and for communication encryption between the SIM card and the mobile network.
OPc Key
Specify the operator key that is associated with and stored on this SIM card.
HLR
Here you can specify the home location register name.
Custom fields
If you have previously created custom fields to store details about SIM cards, such as the marketplace where SIM cards are being offered, these fields will be reflected on this panel. Here you can specify the needed details for the selected SIM cards.
Visible to the end user
Fill in custom fields that can be shown to end users.
Hidden from the end user
Fill in custom fields that are not shown to end users.
Customize the panel
- Change table settings – click Settings
in the title bar to customize columns and change row style.
- Re-order the columns – drag-and-drop the column headers right or left to place the columns in the order you want.
- Re-order the rows – click Arrow
(or
) next to the column header to re-sort the rows. For example, the SIM cards panel displays SIM cards list in ascending order. You can re-sort them in the reverse order.
- Change the default number of results globally – use the Number of results dropdown list in the upper right corner to adjust the maximum number of rows that appear on the panel. By default, the panel displays 25 rows. Once the number is changed, it’s automatically saved, so the same number of rows is shown for PortaBilling entities, e.g., customer, account, reseller, etc.


