Despite all the flexibility and power of the PortaBilling template engine, sometimes it may still not be possible to directly import certain files. Let’s take a look at the most typical cases.
File format not supported by PortaBilling
Link copied to clipboard
It could be that your vendor sends you data in PDF, Microsoft Word, or another format that is not currently supported by the PortaBilling template engine. PortaBilling currently supports:
- Comma-separated values files (CSV)
- Microsoft Excel files (XLS)
So either ask your vendor to use a different format or try to perform the conversion yourself before importing the data.
No phone prefix information in the file
Link copied to clipboard
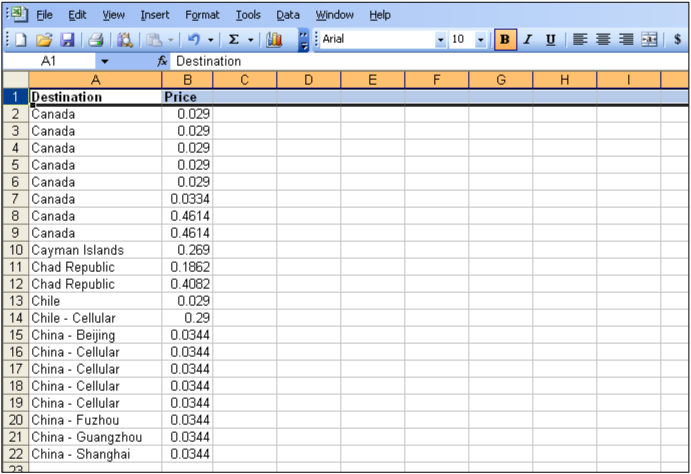
Unfortunately, this is a very common situation: your partner sends you a list of rates, but only includes the country or location name, as in the example below.
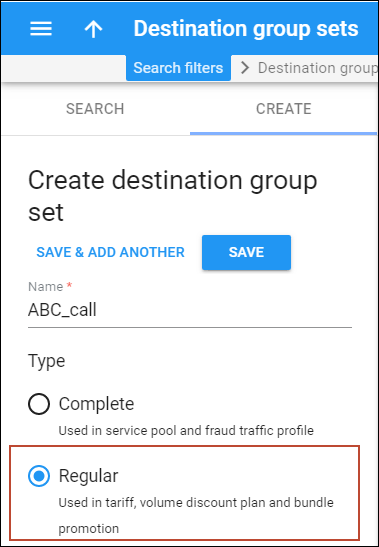
- Go to Destination Group Sets and create a new destination group set to be assigned to this tariff.
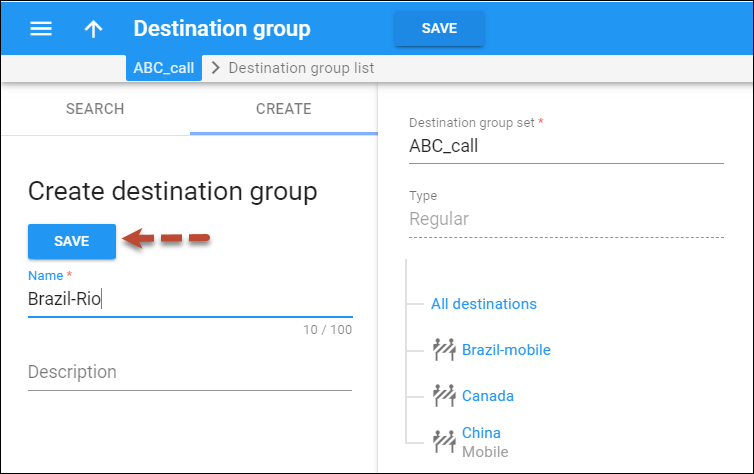
- Within the set, create destination groups. On the Create destination group panel, fill in the name of the destination group that will coincide with the name of the destination (the country or location name) in the tariff and specify the prefixes for this destination group. Create a destination group for every name provided in the tariff.
- When creating a new tariff, select the already created destination group set in the Destination Group Set field and click Save.
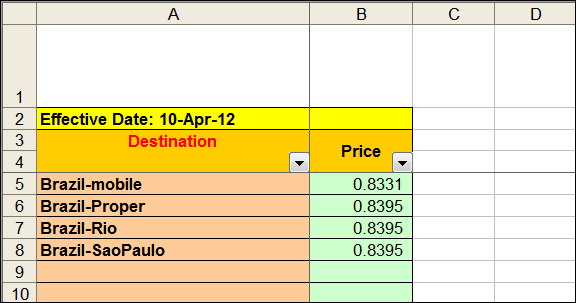
- Click Upload and select the document that contains rates. You can see an example of rates below.
- Click Next to proceed with a review of file parsing.
- Click Next to review the data field definition. When you locate the “Destination” column A, select it and drag it back to the Available Fields list and assign the “Destination Group” instead.
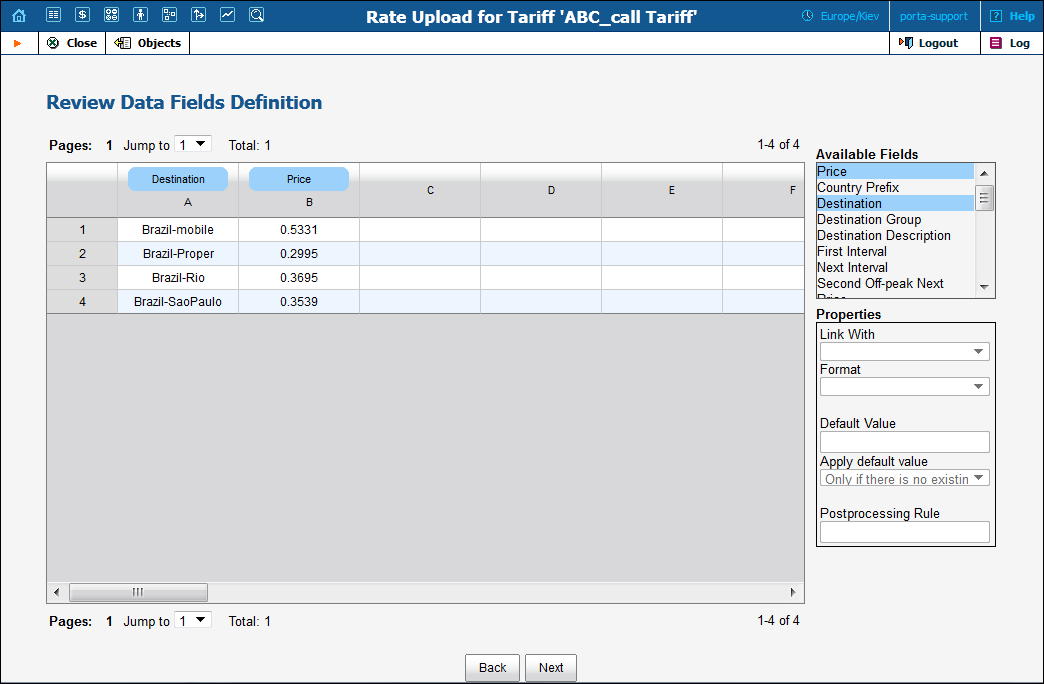
- Click Next to view the rate information. Make sure the rates coincide with the predefined destination groups and click Next.


