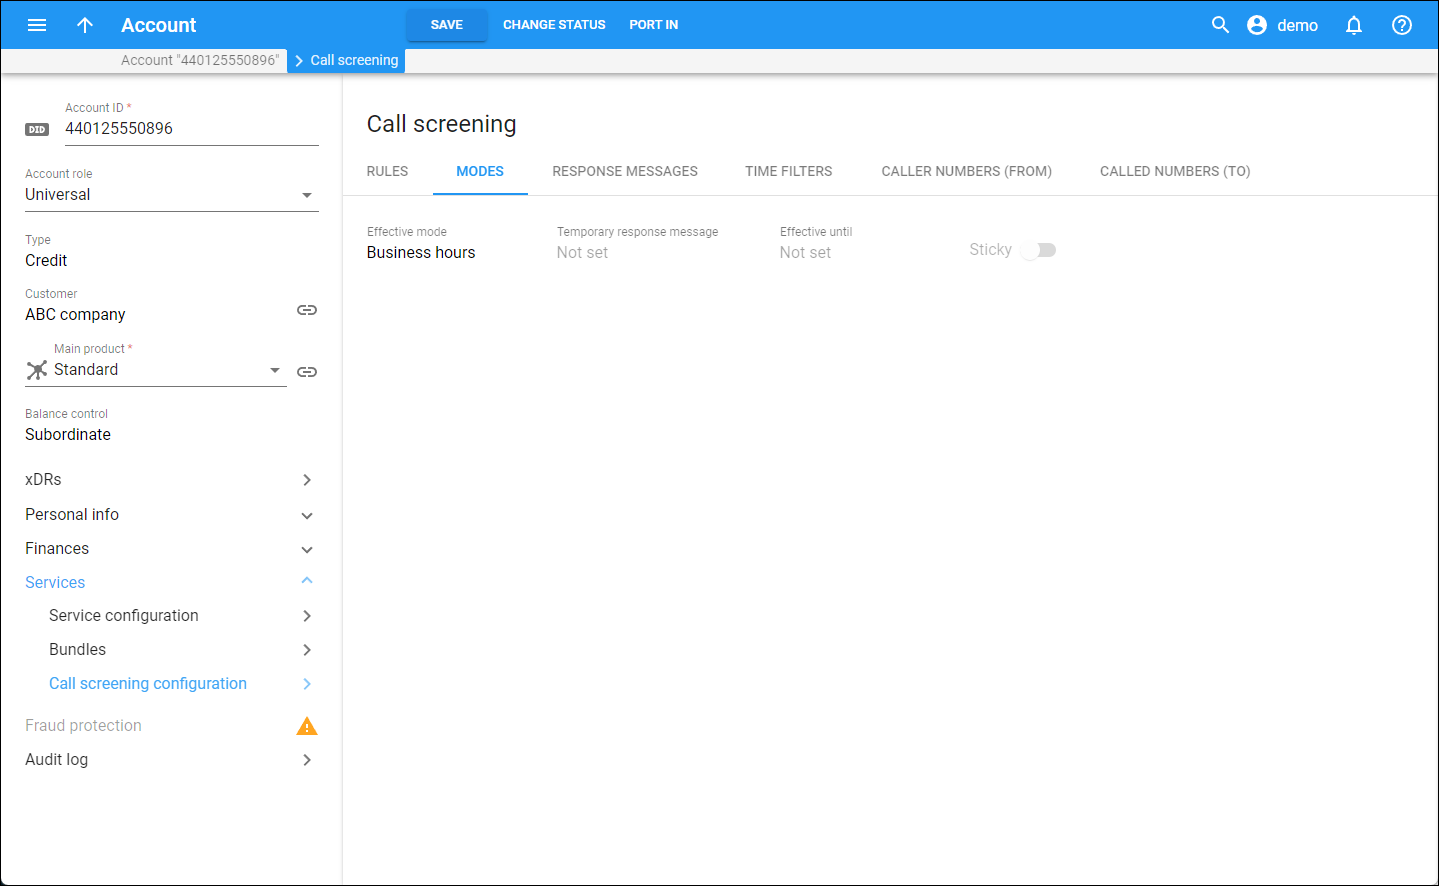
Modes allow users to control when and how calls come through to their phone line and quickly change the way the incoming calls are handled.
On this tab, you can see the current mode applied to the account (extension).
You can see the following details about the current mode:
Effective mode
This is the name of the current mode.
Temporary response message
This is the name of the response message that is recorded by the user while changing the mode via IVR (e.g., “Response message recorded at: 2023-05-10 08:23”) or selected on the account self-care portal.
Effective until
This shows the time and date when the current mode will expire and switch back to the Normal (Default) mode. You can set the mode timeout on the customer Call screening panel.
Sticky
When the toggle is on, this means that the mode is marked as “sticky” (for individual use). Only extensions can set this mode and if the PBX administrator switches all extensions to another mode, this change doesn’t affect the extension with this mode.
How to change the mode
To change the mode for their extension, e.g., from “Business hours” to “Vacation”, the user dials *61.
To change the mode for all extensions (or extensions of a specific hunt group), e.g., from “Business hours” to “Emergency,” a PBX manager dials *62. They can also change the mode for all extensions on their account self-care interface. To enable the PBX manager option for an account, go to Account > Service configuration > Voice calls > Incoming calls > Call screening > turn on the PBX manager toggle.
It’s possible to change the default service code by creating a new dialing rule.


 Back to main menu