To upload an external invoice template to PortaBilling, follow these steps:
- Locate the HTML+CSS file for your custom template. An improved external invoice template is now available and can be downloaded from www.portaone.com: http://portaone.com/resources/invoice_template.zip
PortaBilling uses “UTF-8” encoding when uploading/downloading the invoice template. If you upload an external invoice template in any other encoding (e.g., ISO-8859-1), the invoice template is converted to “UTF-8” encoding.
-
Prepare image files to be inserted into the template.
The images must be defined in the HTML+CSS file with the following tag:<img class=”specify_image_class” src=”[% image_path %] specify_image_name.jpg” />.For example, to insert your company logo into the invoice template, you need to:
- prepare the image file, e.g., “logo.jpg” (upload it at Step 3);
- specify a style class for the image, e.g., “upper-logo”;
- leave the image_path variable as it is.
As a result, the tag to reference this image in the HTML+CSS file will look as follows:
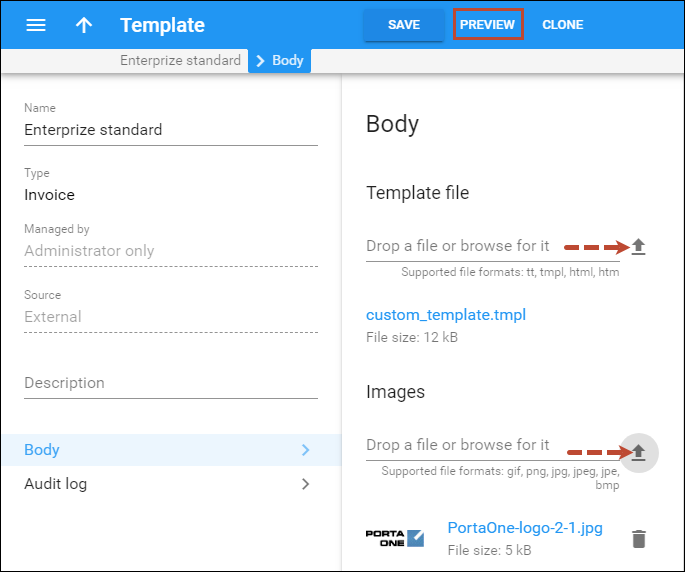
<img class="upper-logo" src="[% image_path %]logo.jpg" />. - Upload the new invoice template and the image files to the PortaBilling administrative web interface.
- Check the look of the invoice template. When you click Preview on the toolbar, a PDF-file showing the final layout is generated.
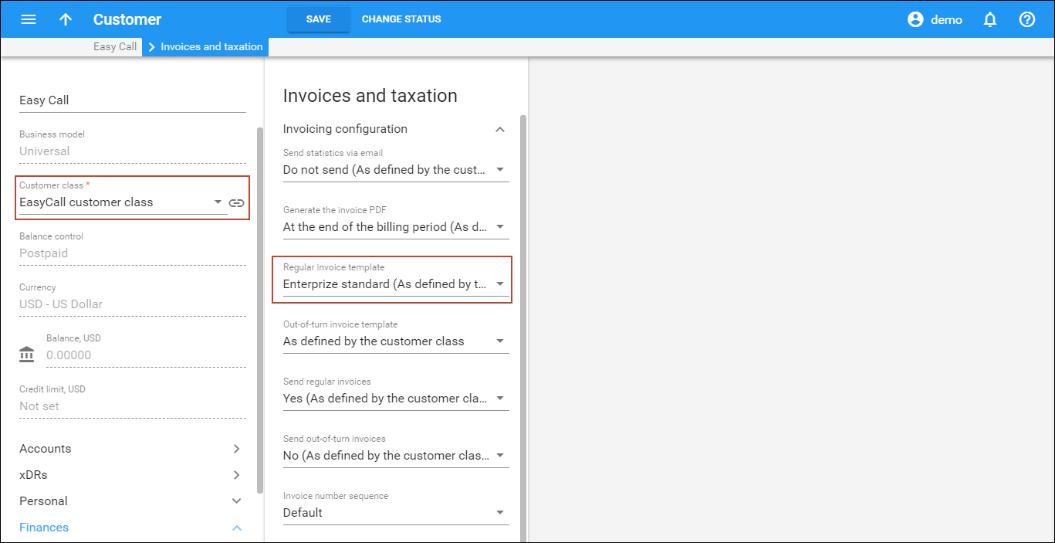
- Assign the uploaded invoice template to a new or existing customer.


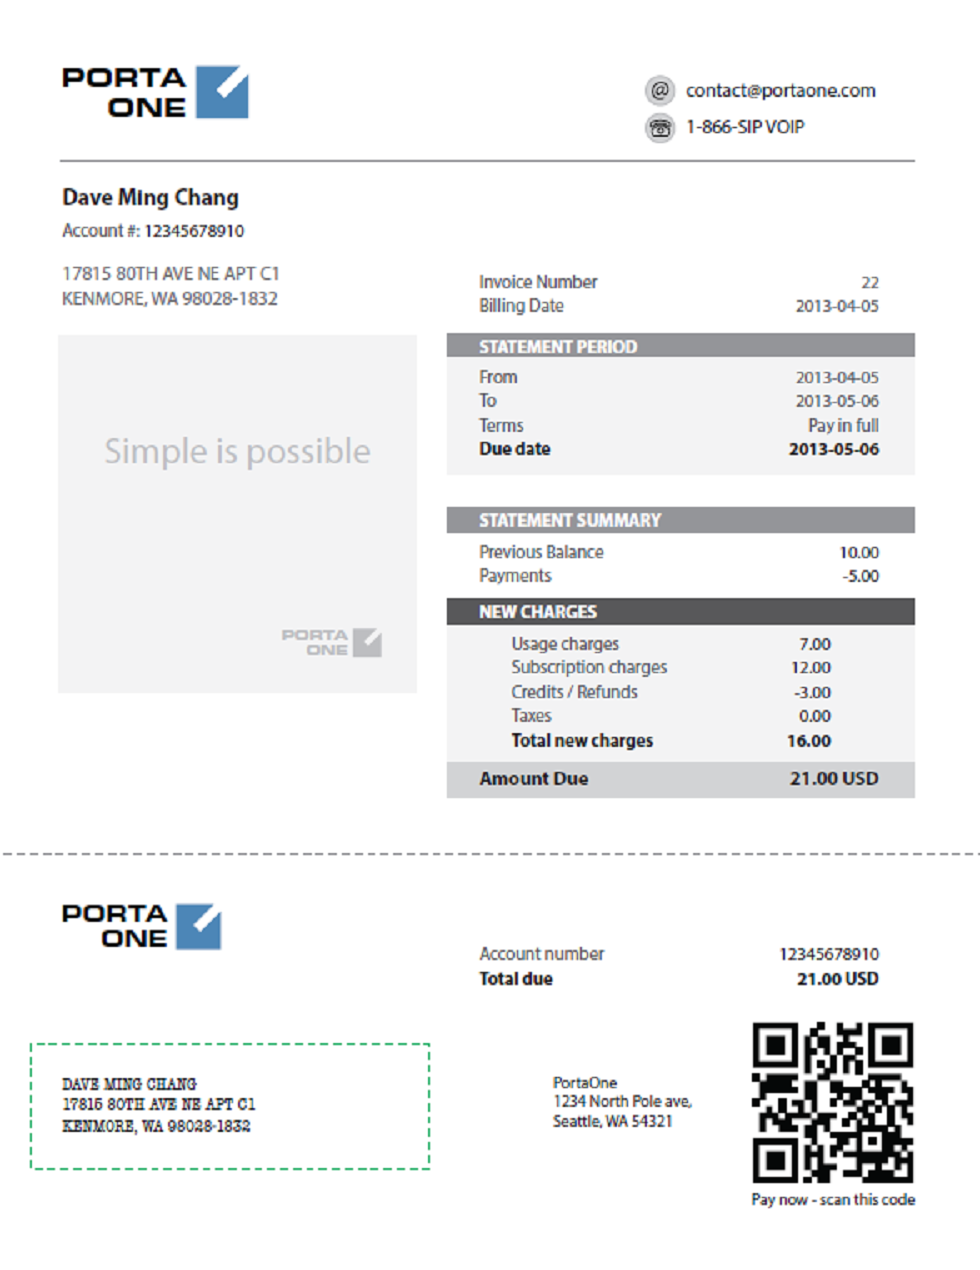
- Below is an example of the invoice generated using a custom invoice template.

In External invoice templates section, you can find another example of the custom invoice template. This example is analogous to the invoice layout designer’s default template.


