To customize and deploy your branded PortaPhone, click Configure.
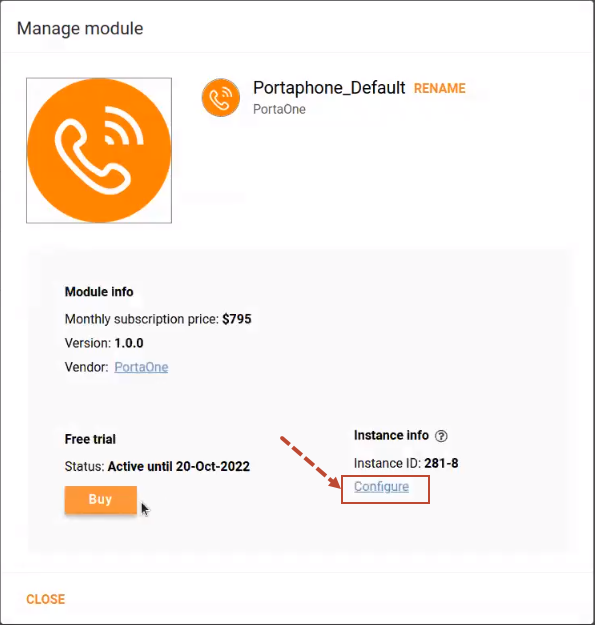
On the PortaPhone ConfigUI portal that opens, fill in the configuration details and click Save & Deploy (or Save for later to deploy it later).
Note that to fill in the configuration details, you first need to prepare two domains (a domain for end users to access PortaPhone web, and a domain for internal usage), create an API user on the PortaBilling web interface for connecting to PortaBilling API, etc. See all the required steps in the “Prerequisites” list below.
Prerequisites
Step 1
If you have an on-premise installation, please check the delay in communication between your PortaSIP server and our cloud server (network latency).
If the network latency is more than 150 ms, contact our support team.
Depending on your location, ping:
- ipaas.portaone.com (any location except South Africa); or
- ipaas-sa.portaone.com (South Africa).
Step 2
Prepare two domains and obtain TLS certificates for them as described below.
2.1 Configure two subdomains under your main domain:
- A “dialer” domain – will be used as a PortaPhone Web URL that you can provide to your end users.
- A “core” domain – will be used internally.
For example, if your main domain is company.com, you can configure subdomains: dialer.company.com and core.company.com (any names can be used).
When configuring DNS for these subdomains, specify one of the following IP addresses depending on your location:
- any location except South Africa – 132.145.254.247
- South Africa – 129.151.182.98
2.2 Obtain TLS certificates for the subdomains.
If you want to generate TLS certificates automatically
You can choose to generate TLS certificates automatically when filling in the configuration details on the PortaPhone Config UI. The certificates will be generated using Let’s Encrypt certification authority (CA). In this case, you can skip this step now and move right to step 3.
If you configured Certification Authority Authorization (CAA) DNS record for your main domain to permit issuing certificates only via a specific CA, then you need to additionally permit issuing certificates via Let’s Encrypt CA for your subdomains. Add the following CAA records to the DNS configuration for the “dialer” and “core” subdomains:
dialer.company.com IN CAA 0 issue "letsencrypt.org"core.company.com IN CAA 0 issue "letsencrypt.org"
If you want to use your own trusted TLS certificate
You will be able to upload your certificate issued by a trusted CA on the PortaPhone Config UI.
It can be a wildcard certificate (that is issued for the main domain and can be used for any subdomains) or a certificate issued for both your subdomains configured above (e.g., dialer.company.com and core.company.com).
If you don’t have a certificate yet, contact your trusted CA and order a certificate for your subdomains (e.g., dialer.company.com and core.company.com). After you receive your TLS certificate and private RSA key files from the CA, you can upload them on the PortaPhone ConfigUI portal.
Step 3
Create a new API user in PortaBilling with an access token (use the environment that will be tied to your PortaPhone application). Later, when filling in the details on the Config UI portal, you will need to specify the admin login and token for connecting to PortaBilling API.
3.1 Create a new API user, log in to the PortaBilling admin web interface.
3.2 On the navigation menu to the left, select My company > Access control > Users
3.3 On the Create user panel, fill in the user details:
- Login – type the username that will be used by PortaPhone for connecting to the PortaBilling API;
- Email – type in the email address of the CSP’s administrator here (for receiving alerts or password recoveries for the user);
- Password – type a long and strong password for this user;
- Role – select Root for this user.
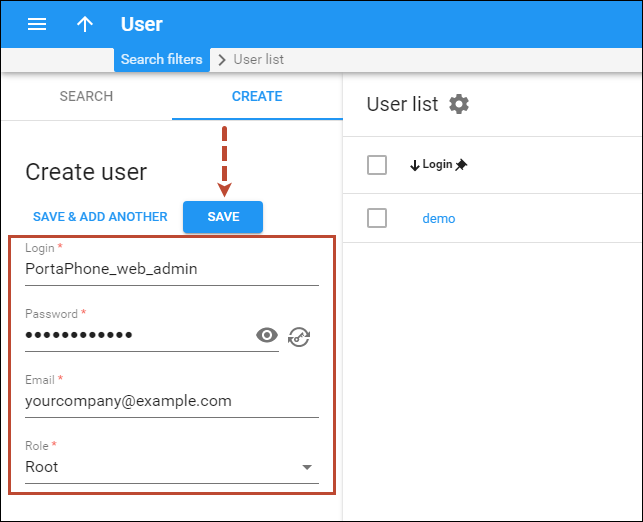
3.4 Click Save.
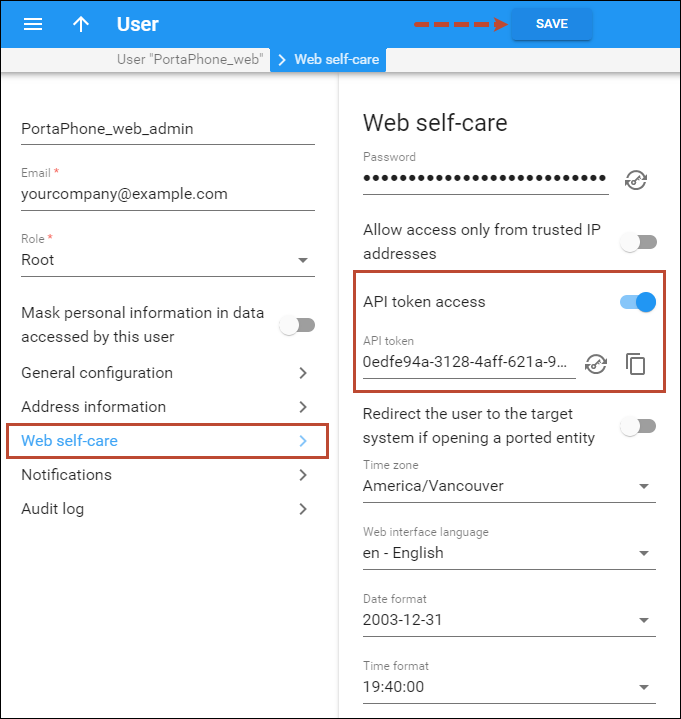
3.5 On the Edit user panel, click Web self-care.
3.6 On the Web self-care panel, enable the API token access option.
3.7 Click Save.
Step 4
Log in to the PortaBilling admin web interface and check that the products, PBX customers, accounts, and extensions are all configured. Refer to the Cloud PBX services handbook for the configuration steps. You can create test customers and accounts first.
Step 5
Make sure that:
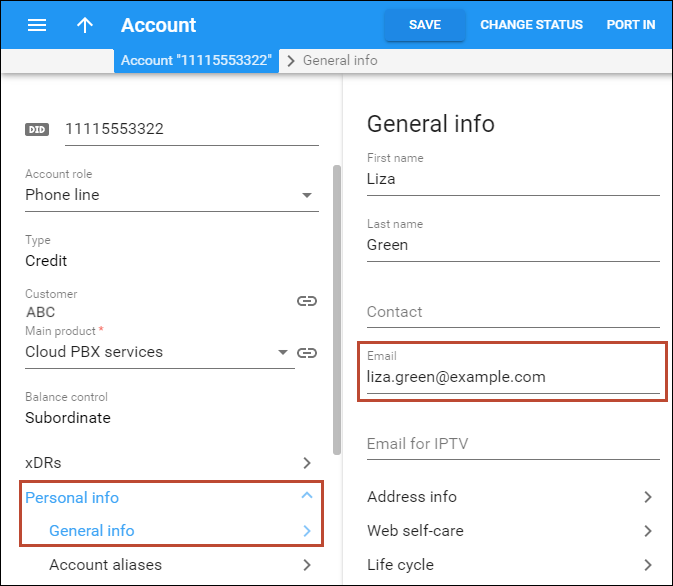
- Email addresses are specified for the PBX accounts (the verification code from PortaPhone will be sent to the user’s email address). Open a PBX account and add the account email address on the General info panel.
- Web access is enabled for the PBX customers and accounts.
- For at least one customer’s account, an extension is created.
Fill in the form once the module is activated
Your app info
Choose a custom name and color scheme and upload your logo to brand your PortaPhone application.
App name – specify the name of your application shown in the header of the application menu. It will be used on the web interface and mobile application.
App subname – optionally, if your application name consists of two parts, and you want to display them in two different fonts (e.g., MyCompany Softphone), you can specify the second part as “subname”, so it will be placed next to the name in a different font.
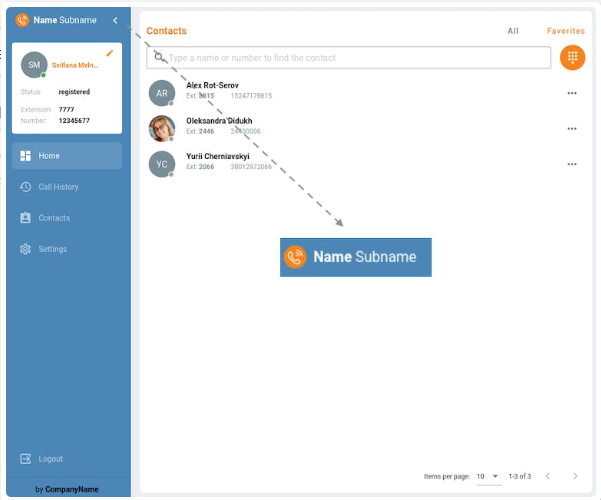
Appearance – if you want to change the interface colors, select the Custom colors checkbox and click Choose colors. In the dialog that opens, choose a color for the needed element and click Save.
Favicon – click to upload an .ico image (32×32) that will be used as a favicon for the PortaPhone web page.
Your company info
Company name – specify the company name that will be shown in the footer of the application menu.
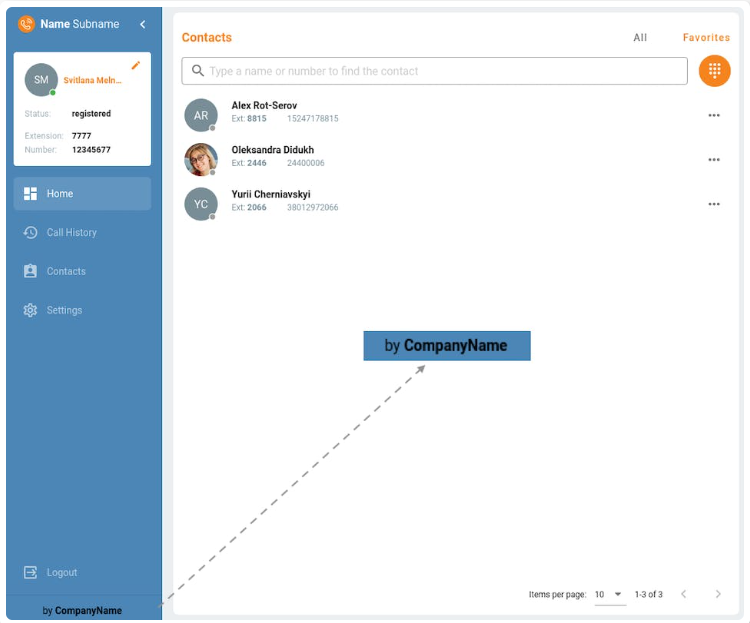
Company URL – specify the link to your company website that opens when a user clicks the Company name.
Company logo – optionally, you can upload your logo that will be shown on the application web page instead of the default one. The format of the logo: svg (1:1 aspect ratio), png (64×64), jpeg (64×64). Maximum file size: 16 MB.
PortaSwitch connection
Admin URL – the URL of the PortaSwitch administrator interface: https://<your PortaSwitch domain>:<optional port>/rest. For example, https://demo.portaone.com:443/rest.
Admin login – the admin user login created in Prerequisites step 3.3 (it will be used by PortaPhone for connecting to the PortaBilling API).
Admin token – the user token generated in Prerequisites step 3.6.
Account URL – the URL of the PortaSwitch account self-care interface: https://<your PortaSwitch domain>:<account_realm_port>/rest. For example, https://demo.portaone.com:8445/rest.
SIP Host:Port – the IP address/domain name of the SIP node with port: <domain name/IP address>:<port>. For example, 1.1.1.1:5060.
Domains and certificates
Specify the domains that you configured in Prerequisites step 2.1.
Dialer domain (this domain will be shown for the end-user) – specify the domain that will be provided to your end users as the web application URL.
Core domain – specify the domain that will be used for internal purposes.
Choose whether you want us to generate certificates for you or you want to upload your custom certificates. If you choose the Custom certificates option, upload your TLS certificate for your domain and the private RSA key (see Prerequisites 2.2).
To deploy your PortaPhone application right away, click Save & Deploy. To save the configuration and deploy it later, click Save for later.
Make test calls
Once PortaPhone is successfully deployed, open the link to the PortaPhone web application and make test audio and video calls using the pre-configured accounts (see Prerequisites step 4-5).
Check a brief video guide on how to use PortaPhone.


