To add users in bulk, check the instruction provided by TeamMate.
As soon as your service provider assigns the DID numbers to the Trunk Profile, you can configure trunk settings for users:
- Enable trunk(s) for each user
- Choose a default trunk (a user may have multiple trunks assigned)
- Assign DIDs to each user
To configure trunk settings for users:
3.1 Log in to the Enterprise portal.
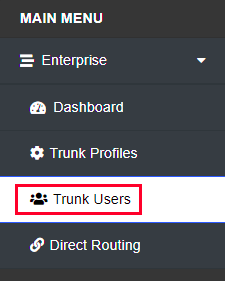
3.2 Go to Trunk Users. This leads you to the dashboard that shows each user within the Enterprise (except PBX users).


3.3 Set a Default SIP Trunk Profile for each user:
- Click Configure Trunk Settings next to the user’s email.
- Select the checkboxes Enabled and Default Profile for a specific Trunk profile.
- Click Save Settings.

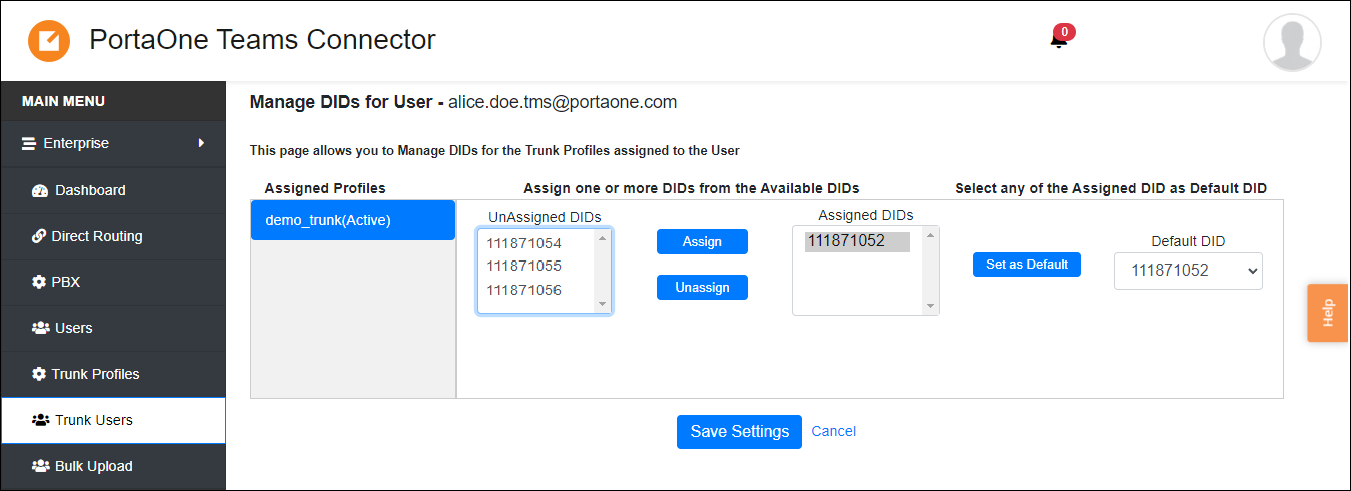
3.4 Assign DIDs to each user:
- Click Action
 for a specific user record >> Manage DIDs

- Choose the DID numbers from the Unassigned DIDs list and click Assign. Set the Default DID: click on the DID number in the Assigned DIDs list and click Set as default.

- Click Save settings.
You can check details about the SIP trunk user management here.
Now, the configuration is completed, and you can start using the service.


