Typically, this step is done by your service provider.
However, you can add PBX users on the Enterprise portal if you have all the required parameters.
If the users were added by anyone other than the Microsoft Global Admin, e.g., by your service provider, log in under the Microsoft Global Admin login and perform a sync manually for Teams users.
To add a User:
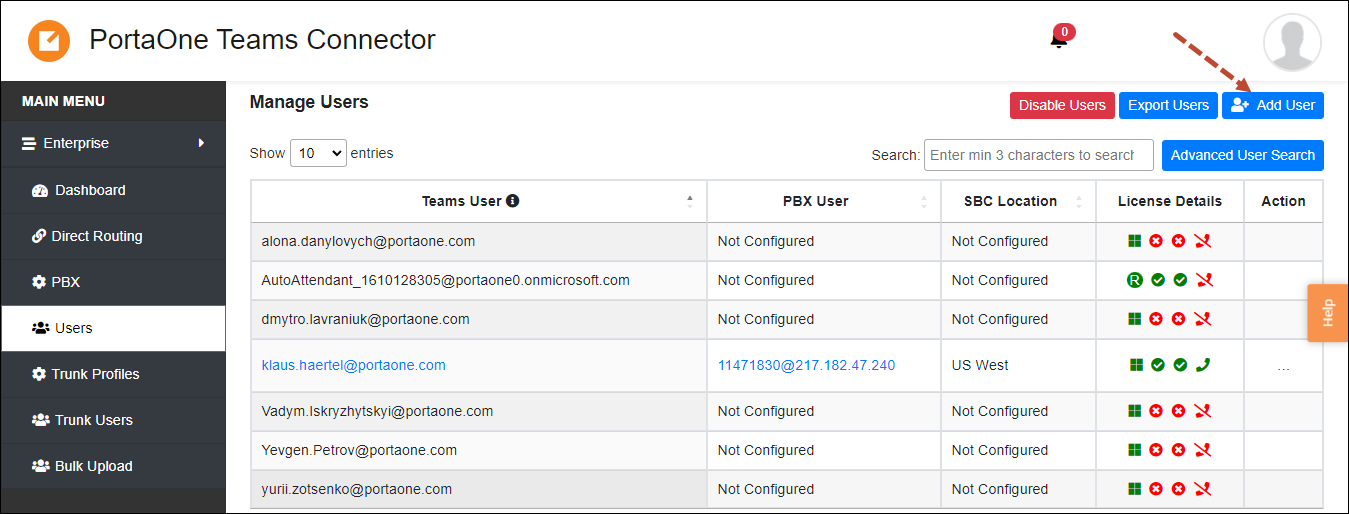
4.1. Go to User Management > click Add User

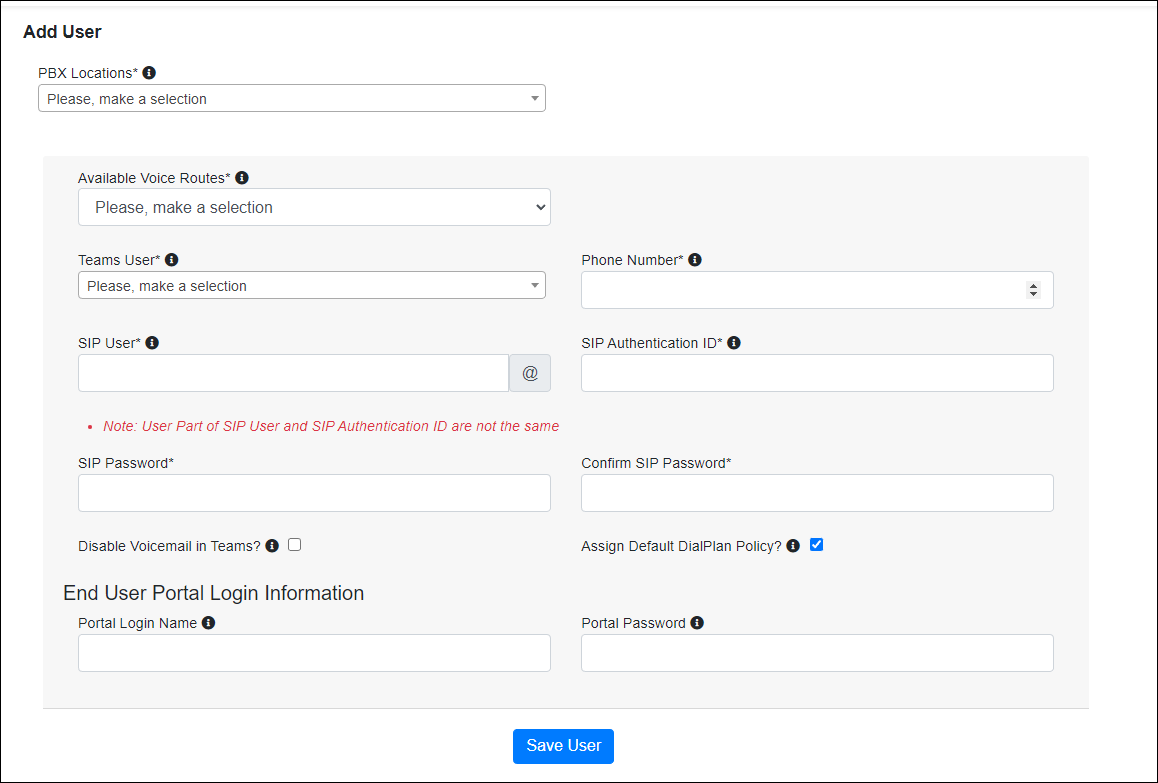
4.2. Fill in the details:
- PBX Locations – choose one of the PBX instances from the list.
- Available Voice Routes – select the voice route from the list.
- Teams User – select the Teams user, identified by the email address
- Phone Number – this number will be displayed in the Teams app as the user’s number. You can specify the phone number in the E.146 format +(country code)(area code)(local number), e.g., “+14133316100”, or as an extension, e.g., 1008.
- SIP User (the SIP username) – this is the address of the record to identify the user on PBX. Specify the account ID (e.g., you can find it on the self-care web interface). The account ID value will be followed by the domain name/IP address that is populated automatically once you select a value in the PBX Locations field.
- SIP Authentication ID – specify the Account ID received from your service provider.
- SIP Password – specify the SIP auth password (e.g., you can find it on the self-care web interface).
4.3. Click Save User.

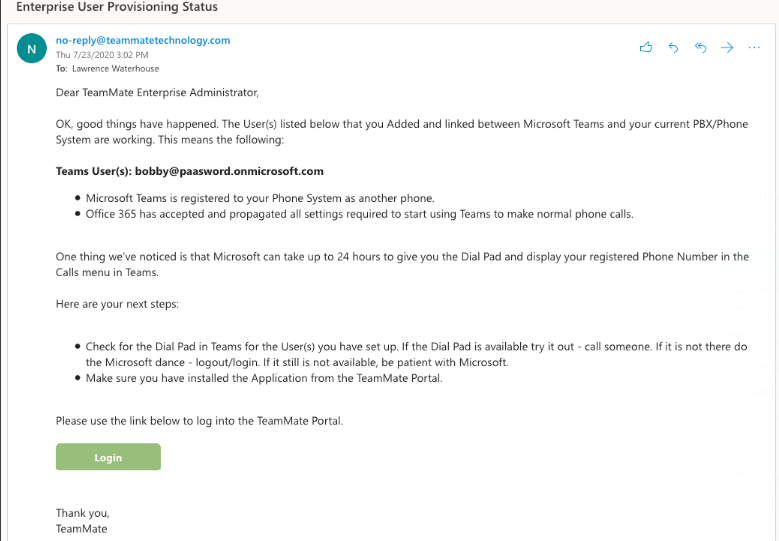
When a user is successfully added, you will receive an email confirmation similar to the one below:

Provisioning of a new user usually takes between 10 seconds and 60 seconds but can take longer with Microsoft load delays. Once the user is successfully registered, the user will appear on the Enterprise provisioning Dashboard. Once PBX and Teams Registration is successfully completed, the icons change to green checks, and a timestamp for the recent PBX Registration will appear.


