On this panel, you can manage the report template settings and view the list of reports generated based on this template. Note that some fields are read-only.
To save your changes, click Save.
Click Save&Run to save the changes and start the report generation as soon as the available task slot appears.
Status icon
Every report has a status. The statuses are:
- Running
 – the report is currently being generated.
 - Scheduled
 – the report is scheduled for a specific date and time, and the Repeat generation option is disabled.
 - Scheduled, repeating
 – the report is scheduled for a specific date and time, and the Repeat generation option is enabled.
 - No status means that report generation isn’t scheduled, and the report template can be used in the future.
Name
You can edit the report template name.
Type
This is the type of report template. To see the full description of the report type, hover over Details . You cannot change the report type for saved report templates.
Time zone
You can change the time zone in which the reports are generated. The dates in the generated reports will be shown in this time zone.
Scheduled generation at
You can specify an exact date and time to generate the report: click Calendar ![]() and select the date and time or type it in the “yyyy-mm-dd hh:mm” format (2019-03-19 00:00).
and select the date and time or type it in the “yyyy-mm-dd hh:mm” format (2019-03-19 00:00).
Repeat generation
This option shows the frequency of report generation. To repeat the report generation, select the needed frequency option (e.g., Monthly or Hourly) from the dropdown list. To temporarily disable the report generation, select Does not repeat.
Send report to
Here you can see the name of the user who created the report template and their email address. By default, the checkbox is set and means that a report is sent to this user’s email (the email address must be defined on the User page in the Email field).
Also, you can specify one or more additional emails to send a generated report. If you specify several emails, separate them with commas.
Generated reports
This leads you to the panel where you can filter and download report files that are generated based on this report template.
Input parameters
This leads you to the panel where you can manage the input parameters for this report template.
Output data format
This leads you to the panel, where you can define how to show the report data.
Audit log
This leads you to the panel where you can track and browse through changes made to this entity.
Clone a report
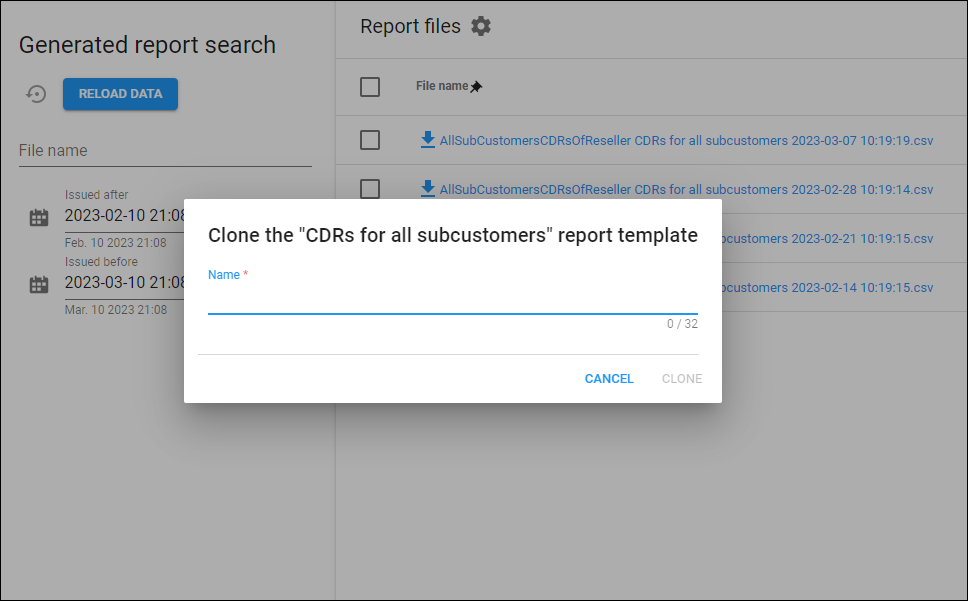
You can create a new report template of the same type by cloning the current one. For this, click Clone on the toolbar, specify the report template name and click Clone to confirm. Once you clone a report, by default the Input parameters panel of the report opens.
The cloned report template inherits all the parameters of the original report template. If you want to schedule report generation based on this template, open it and configure the report generation using the Scheduled generation option.

Run
Click Run to start report generation as soon as the available task slot appears.


